


1. Platform Architecture: Audi B9 vs B9.5 Interior Differences
Before purchasing interior trim pieces, you must verify your exact platform revision. While door panel trims and the main passenger-side dashboard inlay share identical physical geometry between B9 and B9.5 models, the center console console surround differs significantly:
| Interior Component | Audi B9 (2017–2019) | Audi B9.5 (2020–2024) | Inter-Generational Compatibility |
|---|---|---|---|
| Infotainment Interface | Rotary MMI controller dial & touchpad on center console | 10.1-inch MMI touchscreen; console features open storage cubby | NOT interchangeable (Cutout shape differs) |
| Dashboard Long Trim | Full-width horizontal trim with quattro / badge provision | Identical profile & clip locations | 100% interchangeable |
| Front Door Trims | Contoured upper door card inlays with LED ambient light slot | Identical profile & clip locations | 100% interchangeable |
| Rear Door Trims | Identical profile (Sedan/Avant vs Coupe/Sportback specific) | Identical profile | 100% interchangeable |
| Hazard & Airbag Bezel | Integrated passenger airbag indicator & hazard flasher unit | Identical wiring harness connection | 100% interchangeable |
Crucial Fitment Note: If you pilot a 2020+ B9.5 model, you cannot install a center console carbon trim designed for a 2017–2019 B9. The deletion of the physical MMI rotary dial in favor of the small storage bin alters the central aperture by over 45mm. Always specify your exact model year when ordering console inlays.
2. Full OEM Replacement Clips vs. Adhesive Overlays
The aftermarket offers two distinct approaches to carbon fiber interior upgrades. Understanding the structural differences is critical to avoiding fitment regrets and cabin squeaks:
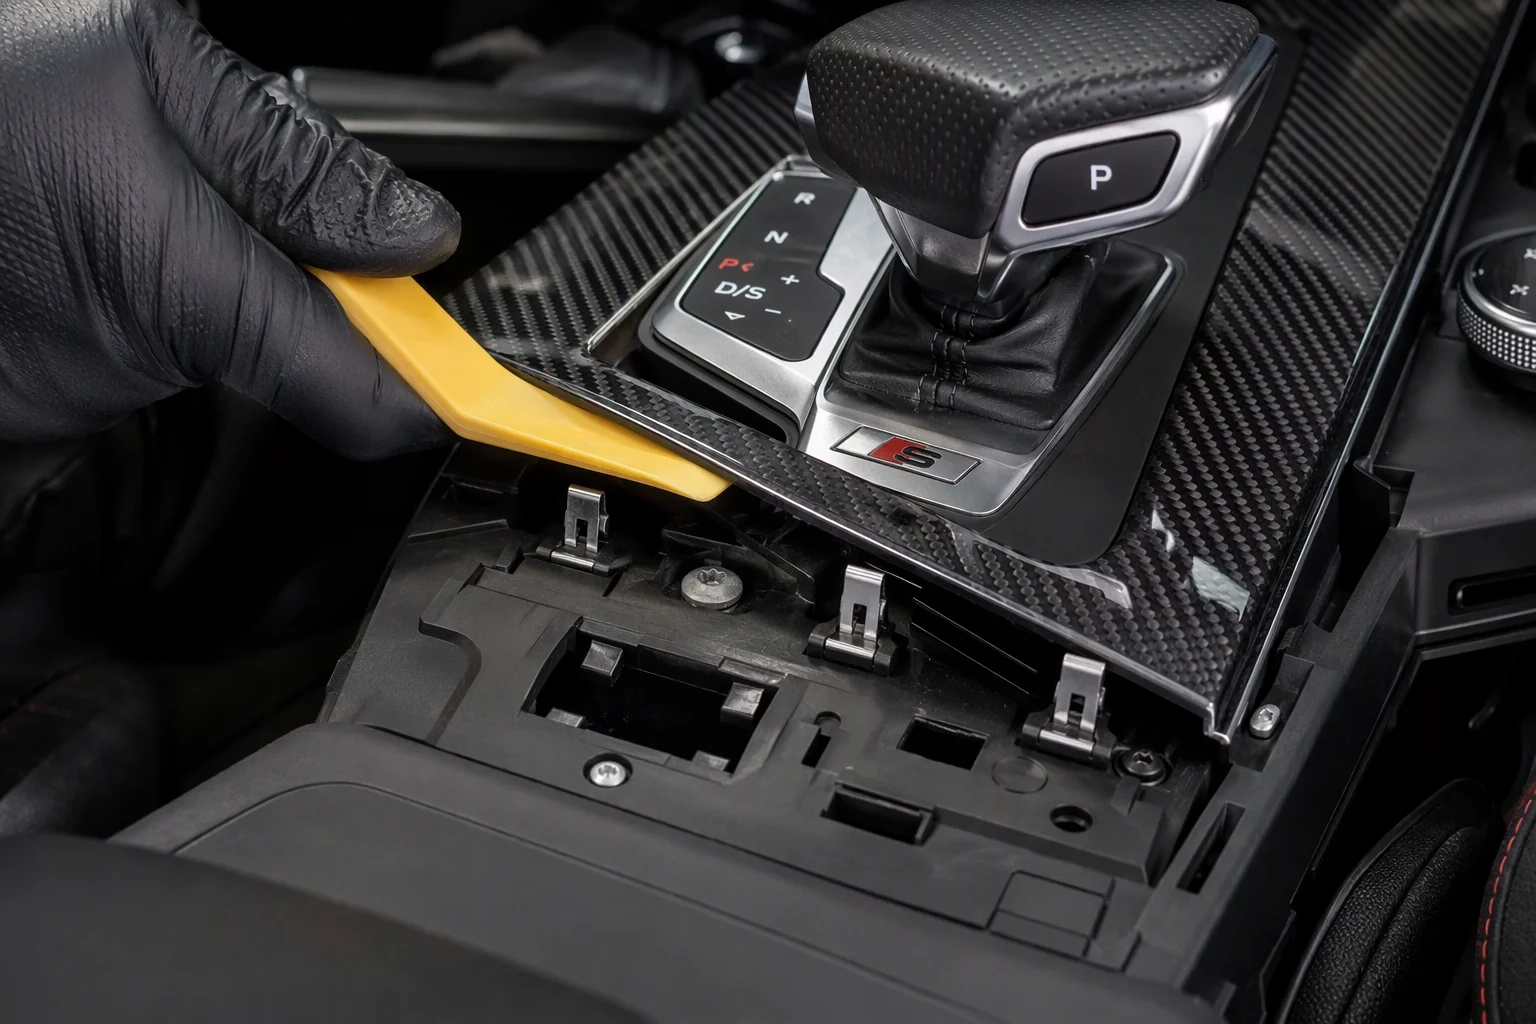 Figure 2: Engineering comparison on workbench: Left shows a premium full OEM-replacement carbon trim with molded ABS backing tabs and metal spring clips; Right shows an adhesive overlay shell with exposed double-sided tape edges (1536×1024 WebP).
Option A: Full OEM-Spec Replacement Trims (Recommended)
- Construction: Authentic vacuum-infused 2x2 twill carbon fiber laminated directly over an injection-molded ABS plastic core that replicates factory Audi clip bosses.
- Mounting: Unclips the original factory trim entirely; snaps directly into the dashboard subframe using factory metal tension springs.
- Finish: Perfectly flush with surrounding leather and soft-touch dash vinyl. Zero raised edges or catch points.
- Longevity: Immune to cabin heat expansion. Will never lift, warp, or peel during summer parking.
Option B: Stick-On Carbon Overlays
- Construction: Paper-thin dry carbon or hydro-dipped plastic shells backed with double-sided 3M VHB tape.
- Mounting: Sticks directly over the existing piano black or aluminum trim.
- Drawbacks: Adds 1.5mm to 2.0mm of artificial thickness. Creates visible perimeter gaps around buttons, climate controls, and door handles. Under high summer cabin temperatures (exceeding 140°F / 60°C), double-sided tape adhesive softens, causing corners to lift and catch on clothing.
For a true OEM+ sports cabin, full replacement trim sets are the only solution that preserves factory fit and finish.
3. Step-by-Step Installation: Center Console, Dashboard & Doors
Interior trim installation requires patient leverage rather than brute force. Modern German interior clips are designed with high retention force; using improper metal tools will mar soft vinyl and snap mounting towers.
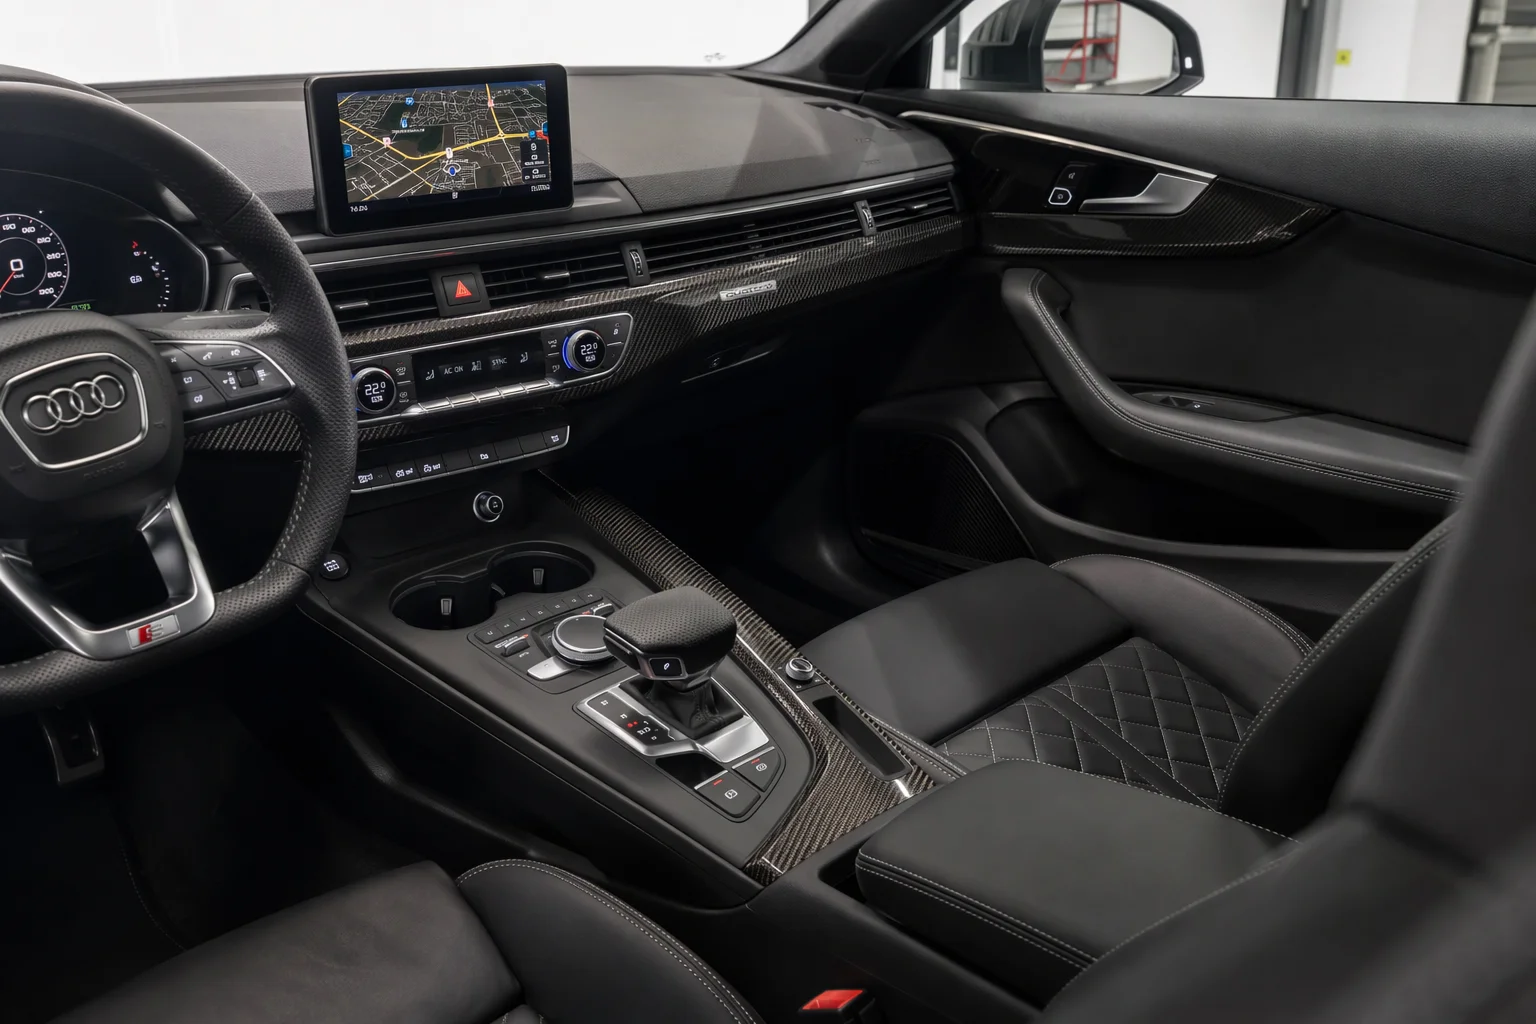 Figure 3: Clean removal technique: Technician using a flexible yellow nylon pry tool to release forward spring clips beneath the center console shifter bezel without marring leather upholstery (1536×1024 WebP).
Step 1: Center Console Shifter Surround Removal
- Safety Preparation: Engage the electronic parking brake and switch the ignition OFF. Disconnect the vehicle 12V battery negative terminal in the trunk spare wheel well to prevent electrical shorting around the engine start-stop switch.
- Release Shifter Boot: Gently squeeze the leather shifter boot collar at the 3 o'clock and 9 o'clock positions to unclip it from the lower console frame. Lift the boot upward over the shift knob.
- Pry Starting Edge: Insert a broad, flat nylon pry tool along the rear edge of the center console trim (adjacent to the armrest cupholders). Apply steady upward pressure until the two rear spring clips pop free with an audible release.
- Work Forward: Slide your pry tool forward along both left and right edges. There are four lateral clips along the transmission tunnel.
- Disconnect Harnesses: Before pulling the trim free, tilt it upward to expose the underside. Unplug the harness connectors for the Engine Start/Stop button, the Volume/Track knob, and the 12V auxiliary power socket. Press the central locking tab on each connector; never pull directly on wiring.
- Transfer Hardware: Transfer the start button module into your new carbon fiber console bezel, ensuring the retention tabs click firmly into place. Reconnect harnesses and snap the new carbon assembly downward until all six clips lock flush.
Step 2: Main Passenger Dashboard Inlay
- Passenger Door Ajar: Open the front passenger door fully to expose the outer dash side access panel.
- Side Endcap Removal: Unclip the plastic fuse/dash side cover using a wedge pry tool.
- Pry from Outer Edge Inward: The long horizontal dashboard trim is anchored by eight metal tension spring clips. Begin prying from the outer passenger window edge, working progressively toward the center MMI screen.
- Center Vent & Switch Bank Transfer: Once loose, carefully disconnect the hazard warning flasher switch harness and passenger airbag indicator connector. Transfer the switches and the iconic chrome quattro badge into the corresponding slots on your replacement carbon trim.
- Alignment: Align all eight rear tabs with the metal receiving slots in the dash structural foam. Push firmly with the heel of your hand from the center outwards until completely seated.
Step 3: Four Door Panel Inlays
- Prying Angle: Door panel inlays snap outward from front to rear. Begin prying at the narrow leading edge near the door hinge.
- Ambient Lighting Guide Care: If your vehicle is equipped with the factory 30-Color Extended LED Interior Lighting Package (QQ2), take extreme caution not to pinch or bend the clear acrylic ambient light transmission strip mounted directly beneath the trim edge.
- Clip Retention: Verify that no metal spring clips were left inside the door card slots. If a clip remains stuck, extract it with needle-nose pliers and re-mount it onto the trim tab before reinstalling.
4. Recommended Tools & Installation Checklist
Having the correct non-marring tools makes the difference between an enjoyable 45-minute project and damaged interior plastics:
- Specialized Nylon Pry Tool Kit: A minimum 4-piece set of curved, flat, and wedge-profile nylon tools (never use metal screwdrivers).
- T20 & T25 Torx Drivers: Required if removing secondary console brackets on select S-Line models.
- Needle-Nose Pliers: To retrieve any dislodged metal retention spring clips from subframe recesses.
- Isopropyl Alcohol (70%): To clean and degrease switch housings and mating surfaces prior to assembly.
- Clean Microfiber Towels: Placed beneath tool leverage points to protect soft-touch leather and vinyl dashboards from pressure depressions.
5. Frequently Asked Questions (FAQ)
Q1: Will replacing my interior trim trigger an airbag fault code on the dashboard?
A: If you disconnect the passenger airbag warning light switch with the ignition ON, the vehicle's Gateway module will log a permanent SRS fault code and illuminate the airbag warning light on your Virtual Cockpit. To prevent this, always disconnect the 12V vehicle battery before unplugging the hazard/airbag switch bank, and reconnect the battery only after all harnesses are plugged back in.
Q2: Can B8 or B8.5 interior carbon trims fit onto the B9 platform?
A: No. The B8/B8.5 (2009–2016) and B9/B9.5 (2017–2024) represent completely distinct vehicle chassis architectures (MLB vs MLB Evo). The dashboard curvature, console width, and door panel profiles share zero common dimensions.
Q3: How do I clean and protect high-gloss carbon fiber interior inlays?
A: High-gloss carbon fiber features an automotive-grade clear coat that should be treated like your car's exterior paint. Clean inlays using a dedicated interior quick detailer or mild water-dampened microfiber cloth. Avoid ammonia-based glass cleaners, which can haze clear coat over time. Applying an interior ceramic coating will dramatically reduce fingerprint adhesion and micro-marring.
Q4: Are the door panel trims different between the A4 sedan and A5 coupe?
A: Yes. The Audi A5, S5, and RS5 (Coupe and Cabriolet) feature longer frameless doors with significantly elongated front door panel inlays compared to the four-door A4/S4 sedan. Always confirm your chassis body style when ordering door trim kits.
6. Summary & Next Steps
Upgrading your Audi B9 or B9.5 interior to real 2x2 twill carbon fiber is one of the most rewarding modifications you can perform. By replacing brittle, swirl-prone Piano Black plastics with authentic composite inlays using OEM-spec retention clips, you create a cohesive, track-inspired cockpit that looks and feels factory-fresh.
Complete your build by pairing your refined interior with our exterior aerodynamic packages. Explore our Audi RS-Style Honeycomb Grille Installation Guide and dive into our Audi S4 & S5 B8.5 Exterior Upgrade Playbook.
Browse our precision-engineered catalog at Elite German Parts to find direct-fit performance styling upgrades tailored specifically for your Audi chassis.
